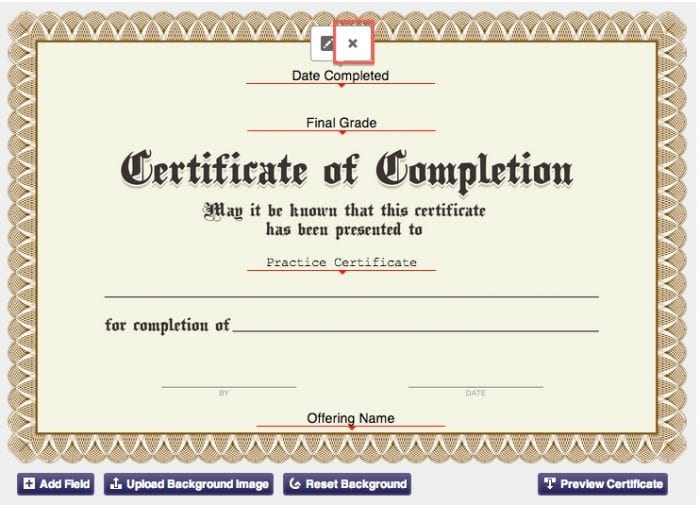
An important feature of the DigitalChalk certificate element is the ability to add fields and create custom fields to any certificate. Adding these fields can create a certificate that is specific to the user and the online course, or online training, that they just completed. With this guide, we hope to make the process of adding fields quick and painless for you.
- The first step is to either add a new certificate element or click on an existing element title to edit a certificate.
- After you have opened the certificate element, you can add fields. To add a field you simply click the “Add Field” button. Note: There is no limit to the number of fields you can add.
- You will have different field options to choose from, such as:
• Course field: Offering name, Final grade, Course name, Instructor name, Date completed
• Student field: Student name
• Text field: Adding a text field allows you to add specific text based content to the certificate
Adding Custom Fields
If you want to have custom fields, you can do so by creating user fields (user fields will be filled out by the student when they create an account on the DigitalChalk platform). To create custom user fields, follow these steps:
 Click the “Administration” tab
- Select “User Field Layout” from the left side categories
- Click the “Add Category” button
- A new window will open that will allow you to name this category for the user field layout, enter in a name and then click the “Save” button.
- You will now want to click the “Add Field” button – this will bring up a window that will give you the option to create a user field that is commonly used, or you can create a custom one. Choose the custom option.
- After entering in the appropriate information and click the “Save” button.
- Once the fields are added, you can now drag and drop them to any part of the certificate that you want – you will find the custom field under the student fields.

Removing the fields is just as easy as adding them. When you move your mouse over the chosen field you will notice that there is an ‘x’ above the field name. Click that ‘x’ and the field will be permanently removed from the certificate.
