Tired of seeing “DigitalChalk” on the “From Address” emails that are sent from the notification feature on our LMS? No worries, that doesn’t hurt our feelings one bit! We want you to have the most optimal branding capability on our system, and we’ve partnered with SendGrid to make that happen – specifically for email branding purposes.
It may sound like you would need an engineer, or be computer savvy in order to make this happen. In reality, it is a very simple process, made even more simple with our how-to guide that will walk you through it. And if you do happen to get stuck along the way, you can always call our support team and they will be able to help you out.
Step 1. Accessing SendGrid from your organization on the DigitalChalk LMS
You want to begin this process by going to the “Administration” tab for your organization. Next, follow these simple steps:
- Select “Notifications” from the left side menu.
- Now you should see “Failures” and “Email Providers” at the top in the left side menu. Select the “Email Providers” option.
- This takes you to what could be considered a mini-guide – it gives you general steps to begin the process (and additional background information if needed). You will also see two tabs, one for DigitalChalk, and one for SendGrid – select the SendGrid tab.
- From here, click the “SendGrid DigitalChalk setup” – clicking this link helps DigitalChalk monitor the process make sure everything is working. Next, you are taken through the process on how to create an account on SendGrid.

Step 2. Creating an account on SendGrid
Once you have clicked the SendGrid link, you are taken to a page on the SendGrid site that explains in detail about what their service can help you do. To create an account, you can find that option in the top right-hand corner. From here you will want to create your account and wait for a confirmation to be sent from SendGrid. Once you have received this email and confirmed your account you can now head back to the SendGrid tab within your DigitalChalk organization.

Step 3. Connecting DigitalChalk and SendGrid
Connecting DigitalChalk and SendGrid is a 3 step process, and is the third and final step in the entire setup.
-
- Save: Enter your SendGrid login credentials you just created on the SendGrid website and click the “Save” button. Edit the email domain that recipients see when viewing their received email notification from DigitalChalk. Simply edit the “From Address” section under the SendGrid tab and hit the “Save” button and emails will now show the edited “From Address”.
- Validate: After clicking the ‘Save’ button, a “Validate” button will appear (to the right of “Save”). Click on the “Validate” button and a new window appears where you can enter an email address for the validation link to be sent. After doing this, you are immediately sent an email to the address you provided. Click on the validation link and a new browser window opens notifying you that it was successfully validated. Close this window and return to the SendGrid tab on the DigitalChalk platform. *Helpful hint: Haven’t received the validation email from DigitalChalk? Use the “Failures” option above
 the “Email Providers” feature to make sure you are entering your correct SendGrid login information.
 - Activate: Once you have successfully validated the information, an “Activate” button will appear (next to “Validate”). If you do not see the button, click the refresh in your browser and return to the SendGrid tab. Click the “Activate” button and you are ready to go!

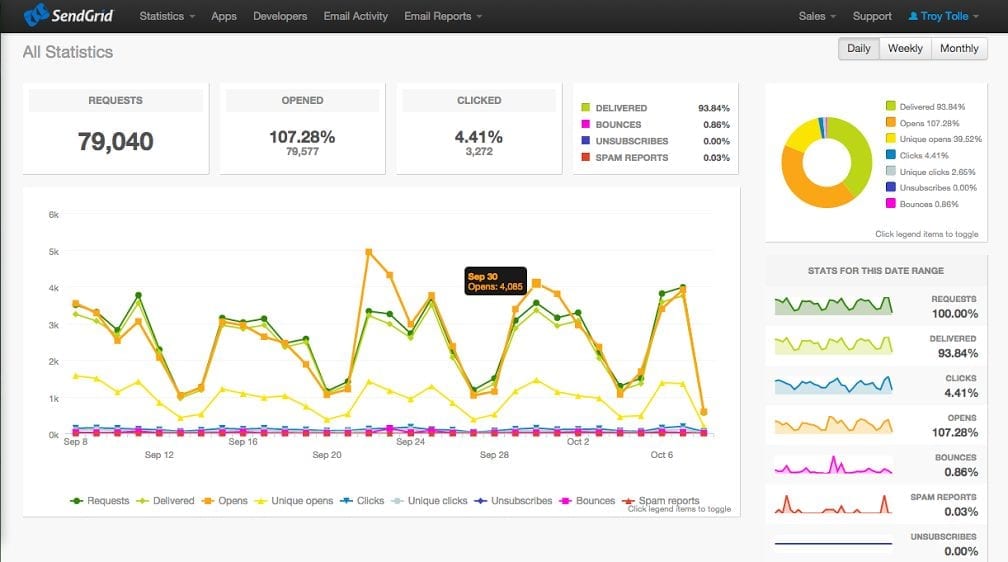
Want to know an added bonus of using this feature? You can sign into your SendGrid account and view all the metrics for emails that have been sent out using the DigitalChalk notification features. This includes emails that have been bounced, sent to spam, or even know how many have actually been opened by your students.

