Want to know what steps your students will have to take to register for a course? We’ll walk you through the whole process so you can see exactly what the student has to do.
Adding the Course to their Cart
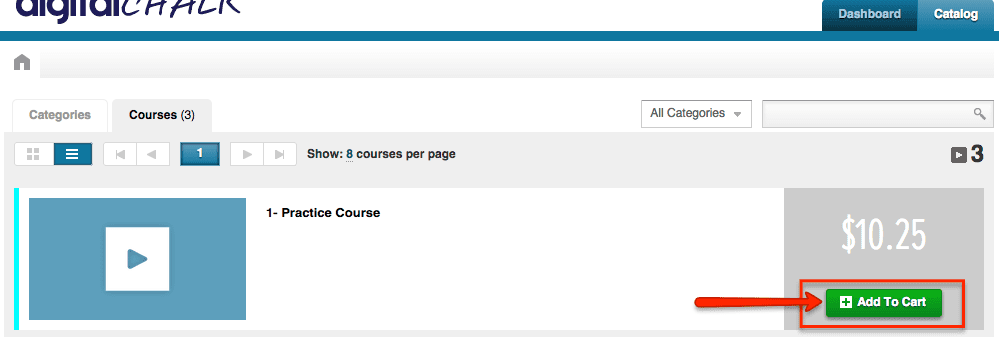
After they have created their account and logged in, they will need to add the course to their cart. To do this, they need to click on the “Catalog” tab and they will see all of the courses they can register for. To add the course to their cart, they will click the ‘Add to cart’ button.
Checking Out
Now that the course(s) has been added to the students’ cart, they can begin the checkout process. The student will see a green icon appear at the top of the screen notifying them how many courses are in their cart. To begin checking out, the student will simply need to click this green icon and they will be taken to the checkout screen.
On the first screen they will be able to add applicable discounts and to check that they are registered for the correct course. Once the student has verified everything, they will click the ‘continue’ button.
The next screen will be where the student will fill out their billing information.
The final screen is where they will be able to review all of the information and submit and finalize the order. Once they have submitted the order they will receive an email notifying them that it was a successful checkout with a receipt.
Once the whole checkout process has been completed, the student will immediately be able to start their online course. All they have to do to access it is go to their “Dashboard” tab and the course will just be a click away from starting!