Did you know that you have the ability to choose what thumbnail image is shown for your chalkboard? If not, we’re going to walk you through the steps.
- Go to the ‘Manage Courses’ tab and click on the course title (click here if you need a guide to creating a course).
- Click ‘Manage Course Elements’ to see a list of the elements in the course.
- Click on the chalkboard and select ‘Edit Chalkboard’ (if the chalkboard has been activated you will need to select ‘Edit the live version’).
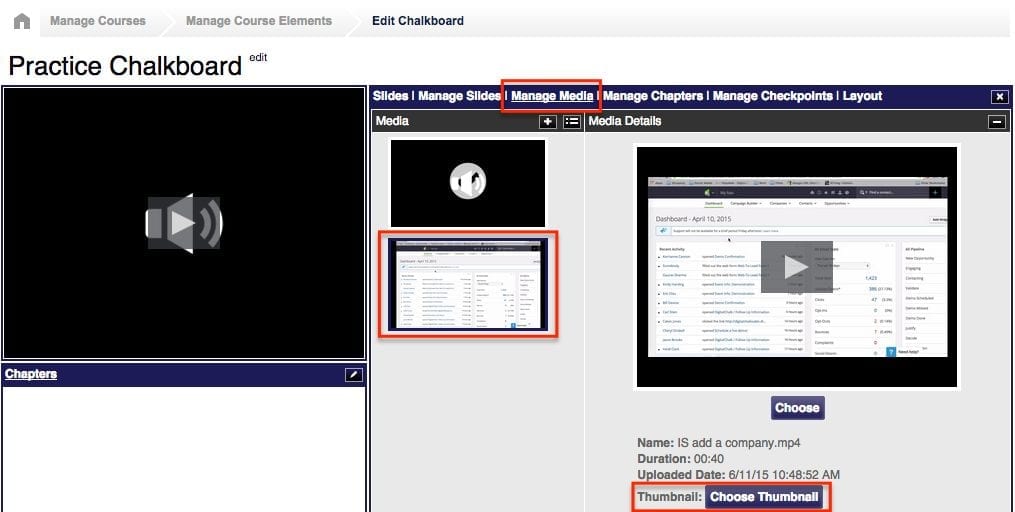
- Select ‘Manage Media’ and upload your video file – if you already have a file uploaded click on the image. To the right you should now see a small screen where you can preview the video, add it to the timeline, and a ‘Choose Thumbnail’ button.
- Select the thumbnail image you would like to students to see and you’re good to go!